
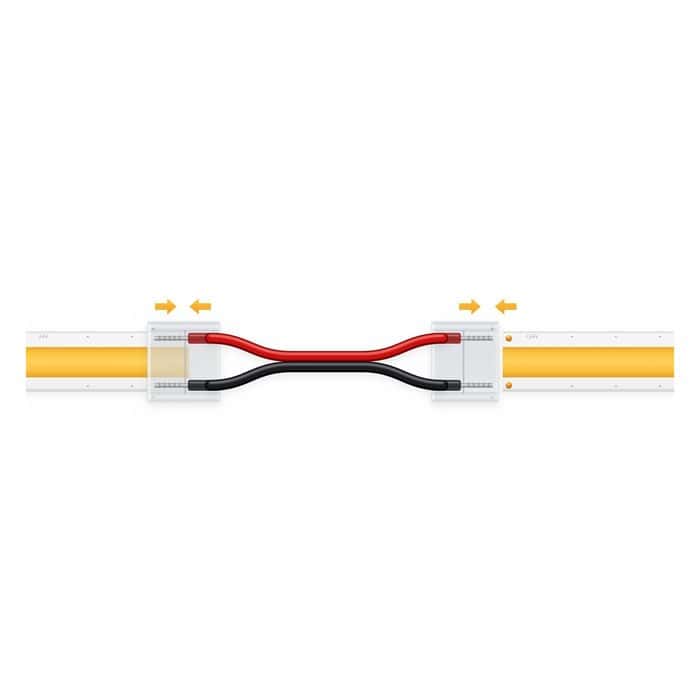
 Single Colour Accessories
Jumper · 10 cm (4″) Cables
DT-JUMP-10CM-8, DT-JUMP-10CM-10
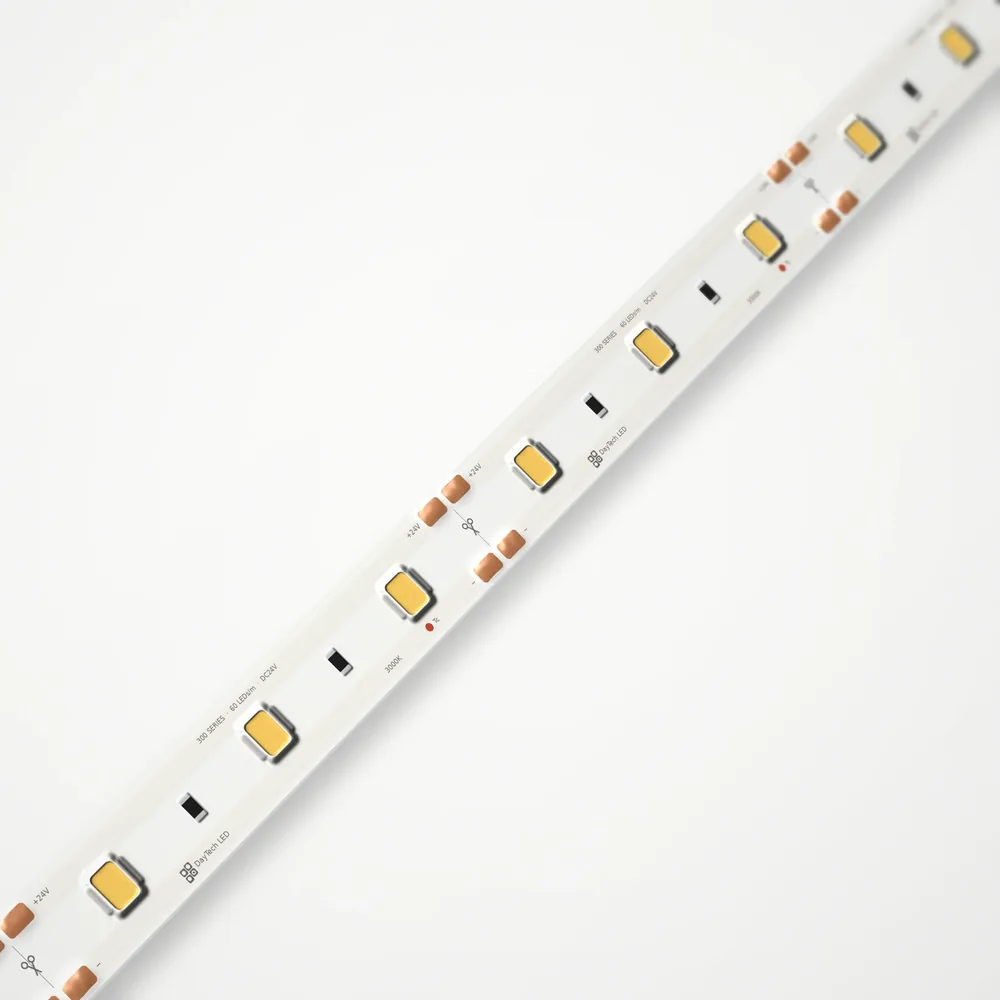
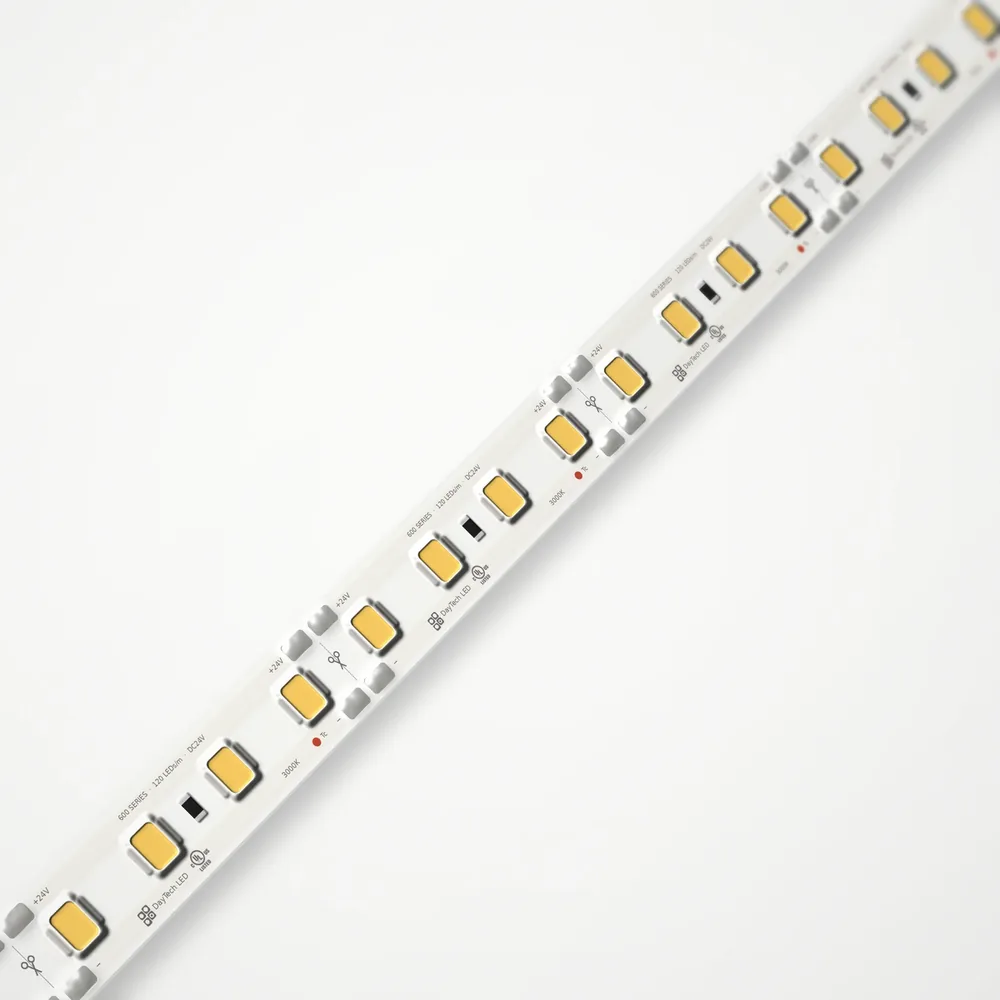
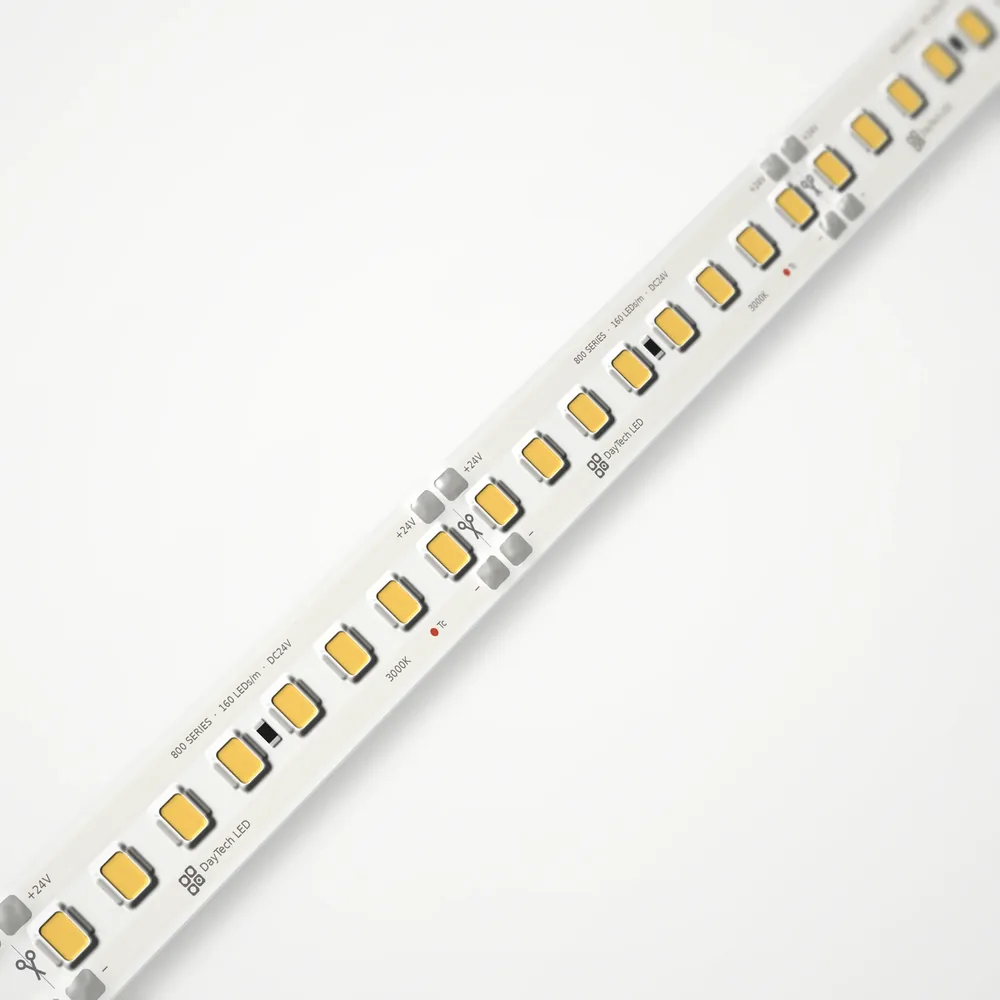
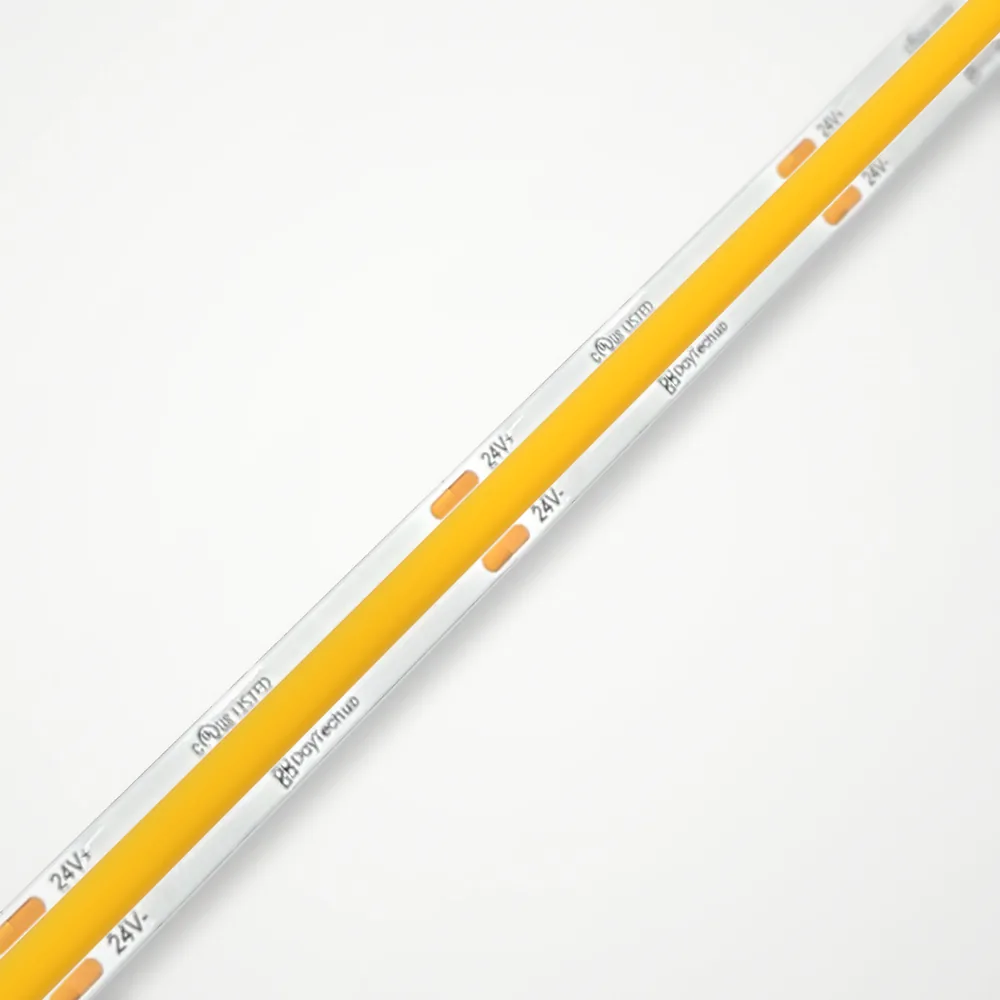
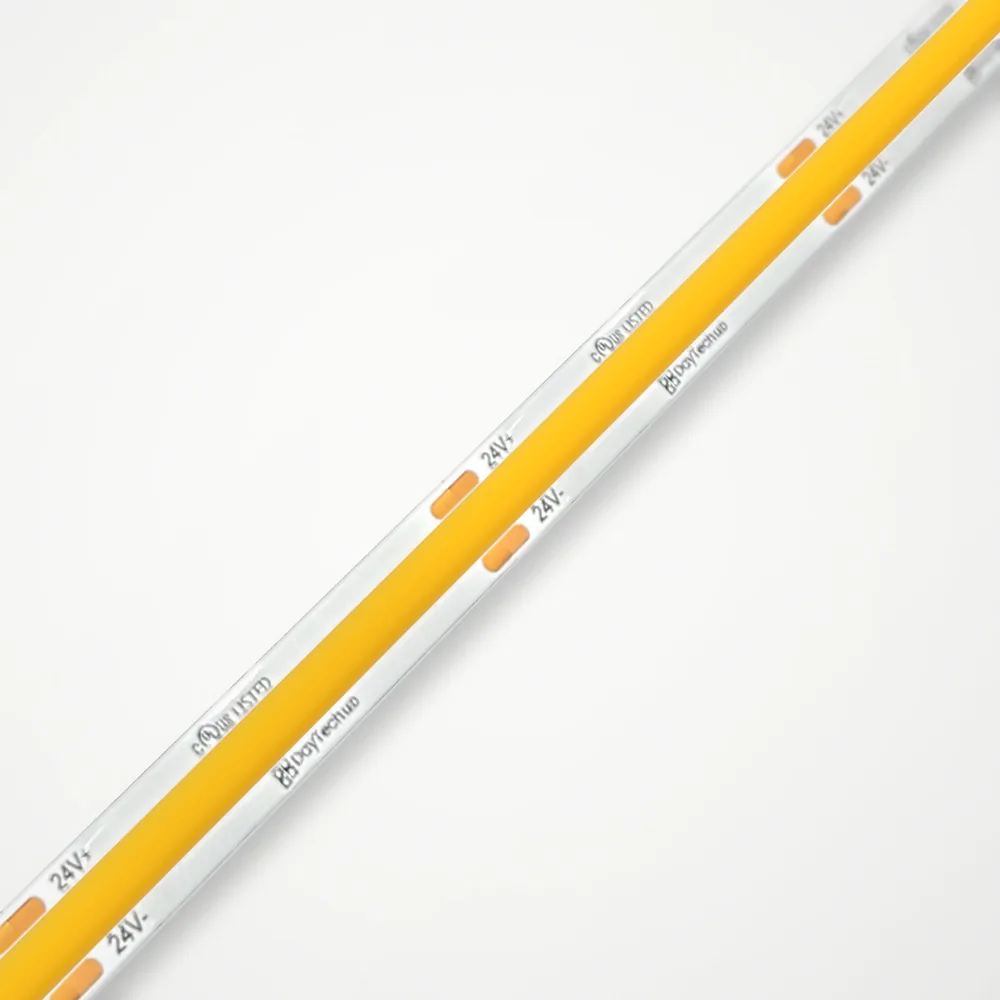
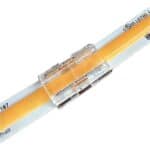
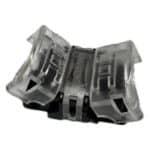
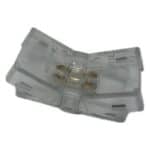
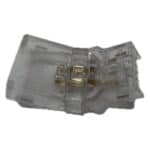
Jumper with 10 cm (4") cables to link two cut reels, strip to strip. For 8 mm and 10 mm tape. Works with COB reels, FL-300, FL-5730, FL-600 and FL-800 tape.
Cut the jumper in half and splice its wires to a longer low-voltage run (14–20 AWG).
Specifications
Specifications from the DayTech LED cut sheet. Subject to change without notice.
| Part Number | Voltage | IP Rating | Colour | Strip Width | Power | Quote |
|---|---|---|---|---|---|---|
| DT-JUMP-10CM-8 | IP20 / IP65 | 8 mm | ||||
| DT-JUMP-10CM-10 | IP20 / IP65 | 10 mm |
Link, Turn Corners or Power Up
The Jumper has a clip-on connector at each end with 10 cm (4") of red and black cable between them. Use it whole to link two cut pieces of tape, or cut it in the middle to get two clip-on leads you can wire to a 24 VDC power supply or a heavier wire run.
| Part No. | Tape Width | Works With |
|---|---|---|
| DT-JUMP-10CM-8 | 8 mm | 300 Series, 600 Series, 160 Series COB, 320 Series COB, 480 Series COB |
| DT-JUMP-10CM-10 | 10 mm | 800 Series, 5730 strip |
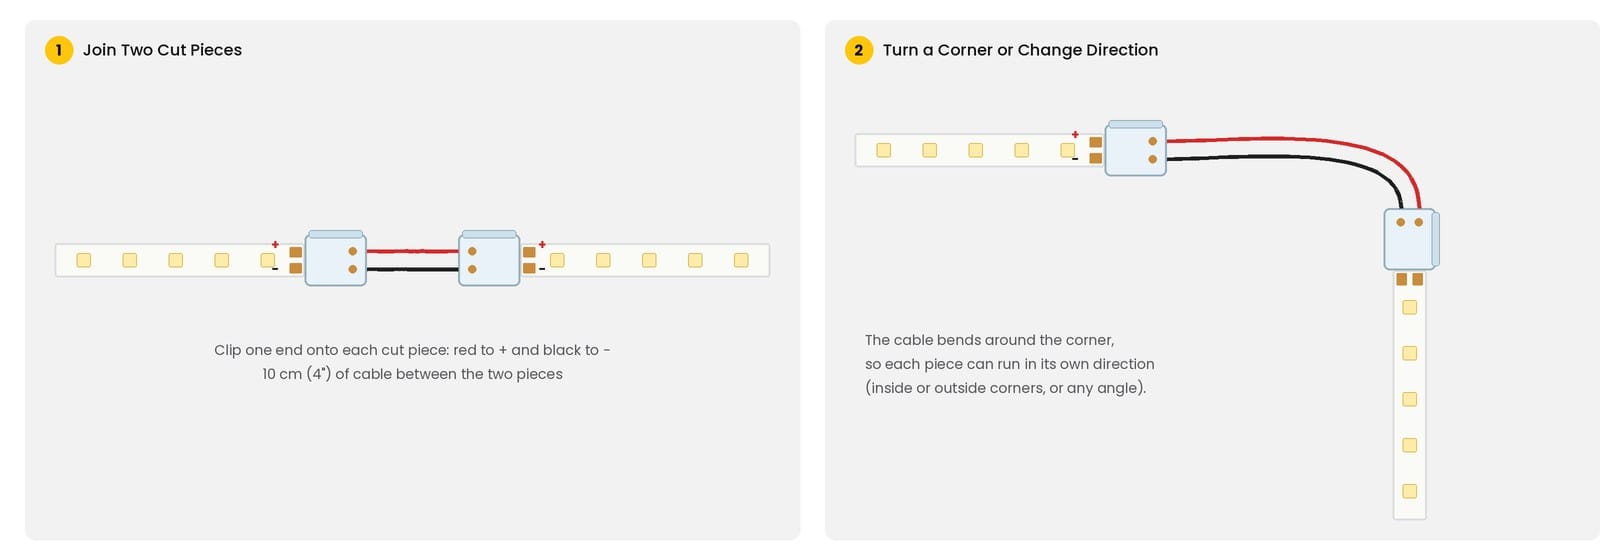
Join Two Cut Pieces or Turn a Corner
- 1Cut the Tape
Cut both pieces at a marked cut point so the copper pads are clean and square.
- 2Clip On Both Ends
Slide each cut end into a connector with the tape's + pad on the red wire and the − pad on the black wire, then close the clips.
- 3Bend the Cable
The 10 cm (4") cable bends freely, so the second piece can carry on in a straight line, turn an inside or outside corner, or change the angle the strip runs.
- Ideal for going around corners, past obstacles, or across a gap between two sections of channel.
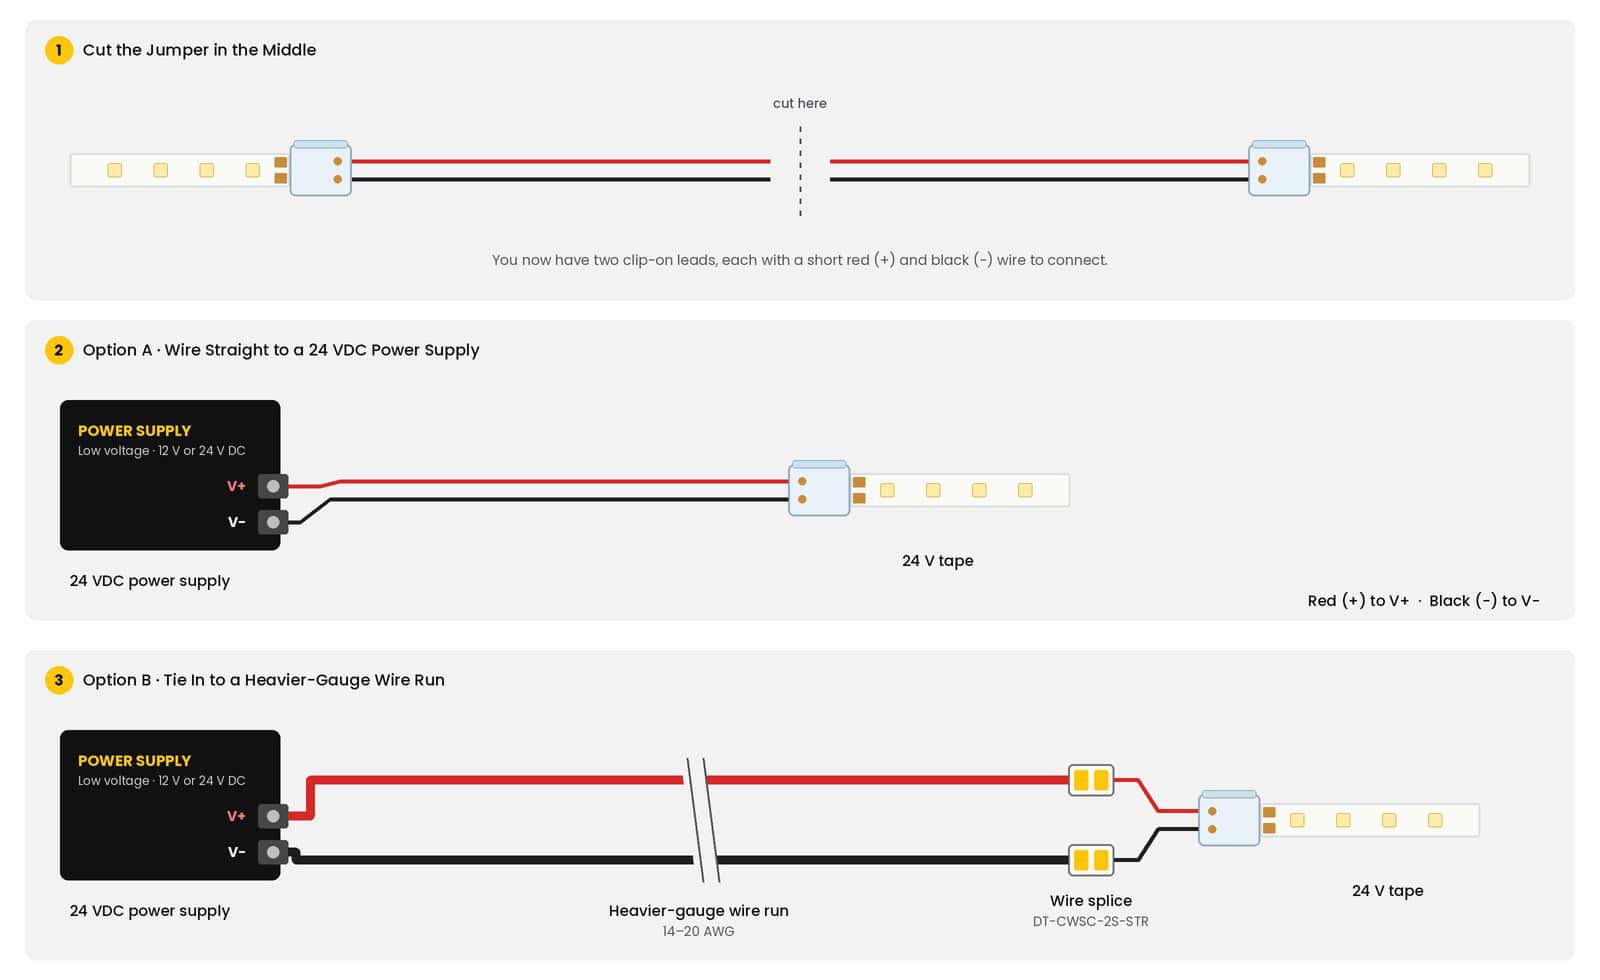
Cut It to Power a Run
- 1Cut the Jumper
Cut the cable in the middle. You now have two clip-on leads, each with a red (+) and black (−) wire.
- 2Option A · Straight to the Power Supply
Connect red to the 24 VDC supply's V+ and black to V−. Use a supply with the same voltage as the tape.
- 3Option B · Tie In to Heavier Wire
Join red and black to the + and − of a heavier-gauge wire run (14–20 AWG) with the Compact Wire Splice Connector (DT-CWSC-2S-STR), then run that wire back to the power supply.
Either End of the Strip Works
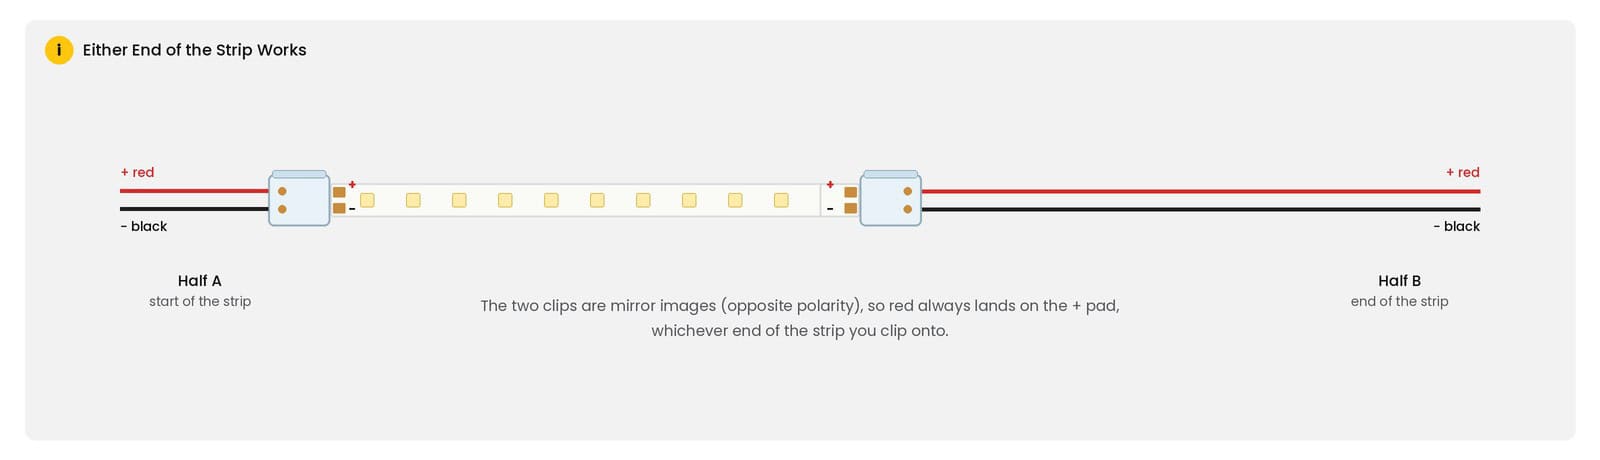
The two clip ends of the jumper are mirror images of each other, with opposite polarity. When you cut it in half, one half suits the start of a strip and the other suits the end, and in both cases the red wire lands on the + pad. So whichever end of the strip you clip onto, there's a half that fits the right way round.
- Always check that the red wire lines up with the + marking on the tape before you power up.
Before You Power Up
Important: Keep + to + and − to − at every connection. Reversed polarity will stop the tape from lighting.
- Switch off power before connecting or disconnecting.
- Mains wiring to the power supply must be done by a qualified electrician to local code.
From the DayTech LED single colour accessories guide. Not sure which jumper or wire gauge you need? Send us your layout and we'll put the parts list together.
Planning a Project with the Jumper · 10 cm (4″) Cables?
Tell us the lengths and layout and we'll quote the tape, channel, connectors and driver for each run.